Heat and Cold Therapy for Recovery: The Complete Contrast Protocol Guide
TL;DR
- Combining heat and cold therapy through contrast sessions enhances recovery by improving circulation and reducing soreness
- Use appropriate tools and follow safety guidelines — including timing and contraindications — for effective at-home treatments
- Consistency and listening to your body are key; shorter, regular sessions outperform infrequent, extreme routines
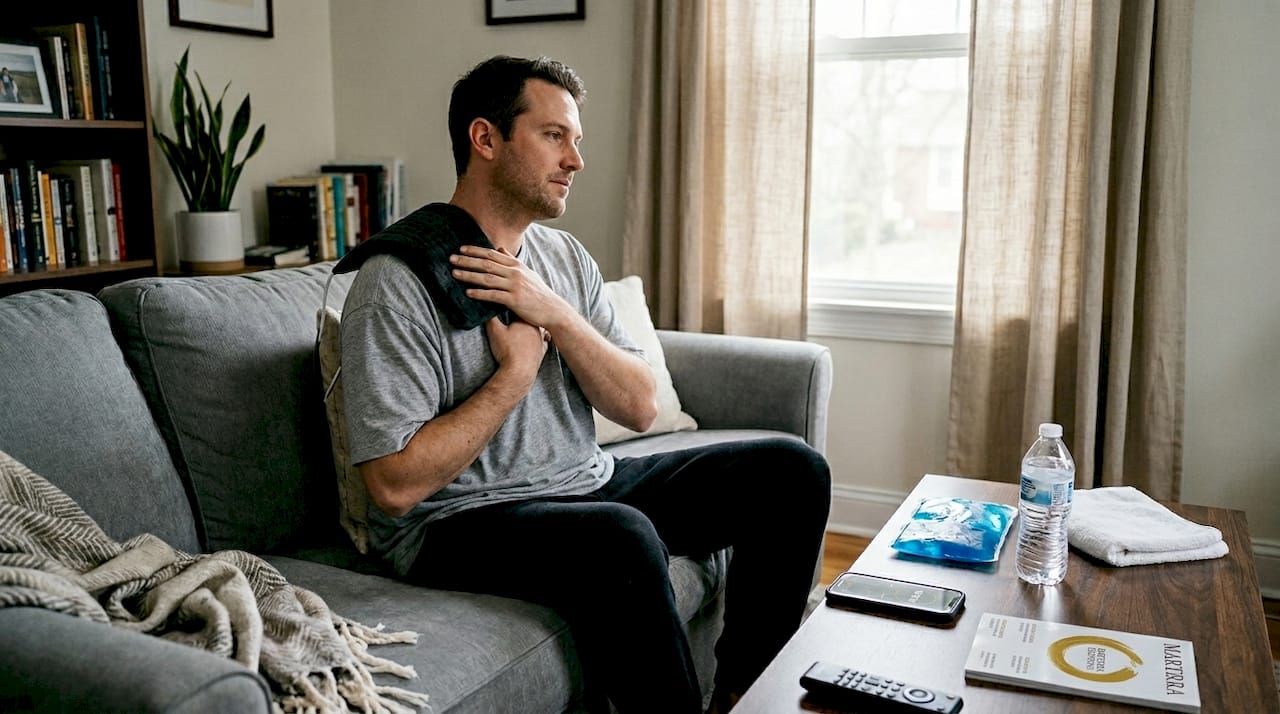
Muscle soreness is one of the most consistent obstacles standing between you and your next great workout. Whether you're dealing with post-training tightness, a nagging overuse issue, or the kind of full-body fatigue that follows a hard week, the question almost always comes up: should you reach for heat or cold? Most people guess, and guessing often means slower recovery.
The good news is that combining both therapies in the right sequence, at the right times, is one of the most effective recovery strategies available at home. This guide breaks down exactly how to do it safely, practically, and consistently.
Table of Contents
- Understanding the science behind heat and cold therapy
- What you need to start: Tools, materials, and setup essentials
- Step-by-step protocols: Balancing heat and cold safely and effectively
- Common mistakes and how to troubleshoot your routine
- The real secret: Consistency over extremes in contrast therapy
- Explore wellness tools for enhanced heat and cold therapy
- Frequently asked questions
Key Takeaways
| Point | Details |
|---|---|
| Contrast therapy basics | Alternating heat and cold boosts circulation and relief better than either therapy alone when applied correctly |
| Safety first | Always use barriers and limit exposure time to avoid burns, frostbite, or aggravating medical conditions |
| Protocol matters | Follow evidence-based cycles and prioritize cold for new injuries before blending with heat |
| Consistency is key | Regular, moderate routines outperform intense or sporadic sessions for recovery and wellness |
Understanding the science behind heat and cold therapy
To build effective at-home protocols, it helps to understand what each therapy actually does to your body — and why combining them can outperform either one alone.
Heat therapy works by triggering vasodilation, which means your blood vessels widen. This increases circulation to the target area, relaxes tight muscle fibers, and helps deliver oxygen and nutrients to fatigued tissue. It's particularly effective for chronic stiffness, tension, and muscle spasms. Learn more about infrared heat science and how warmth penetrates tissue at a deeper level than conventional heating methods.
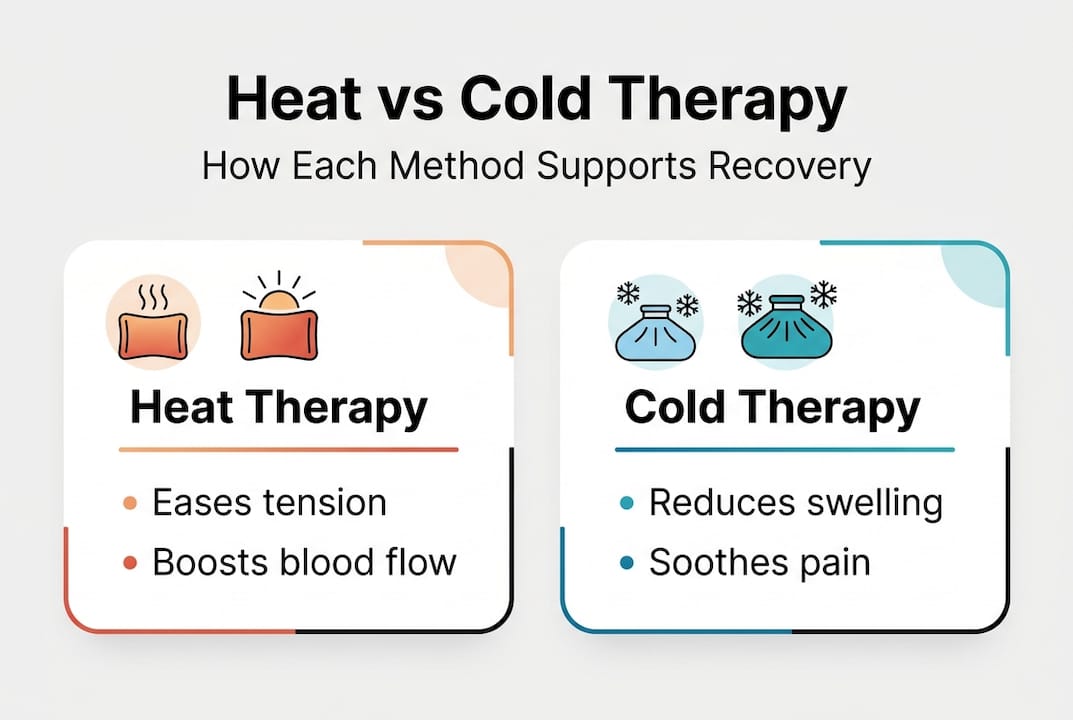
Cold therapy does the opposite. It causes vasoconstriction, narrowing blood vessels and reducing blood flow to an inflamed area. This limits swelling, numbs acute pain, and slows the cellular processes that drive inflammation. It's the go-to choice immediately after injury or intense exertion.
When you alternate between the two, something more powerful happens. Contrast therapy creates a vascular pumping effect that flushes metabolic waste, aids tissue recovery, and combines the benefits of both modalities. Think of it as a manual pump for your circulatory system — pushing fresh blood in and waste products out.
| Therapy | Primary Effect | Best Used For |
|---|---|---|
| Heat | Vasodilation, muscle relaxation | Chronic pain, stiffness, pre-activity warm-up |
| Cold | Vasoconstriction, inflammation control | Acute injury, post-workout swelling, pain relief |
| Contrast (both) | Vascular pumping, accelerated recovery | Athletic recovery, mixed symptoms, performance |
Key benefits of combining both therapies:
- Faster clearance of lactic acid and metabolic byproducts
- Reduced delayed onset muscle soreness (DOMS)
- Improved tissue flexibility and joint mobility
- Enhanced parasympathetic recovery after training
The takeaway: neither therapy is universally superior. The real power lies in knowing when and how to sequence them.
What you need to start: Tools, materials, and setup essentials
You don't need a clinical setup to get real results. A thoughtful combination of accessible tools, paired with a few safety essentials, is enough to build a solid foundation.
Core tools for heat and cold therapy:
- Heating pad or hot pack with adjustable temperature settings
- Infrared or traditional sauna for full-body heat sessions
- Cold packs or ice bags for localized application
- Cold plunge tub or ice bath for immersive cold therapy — see the cold plunge guide for a full breakdown of options
- Protective barriers such as towels or cloth covers
- A reliable timer
- A thermometer to verify water or surface temperature
For targeted joint recovery, a purpose-built hot/cold therapy sleeve can deliver precise temperature application to shoulders, knees, or elbows without the mess of loose packs.

| Tool | Use | Suggested Setting |
|---|---|---|
| Heating pad | Localized muscle tension | 100–104°F |
| Cold pack | Acute swelling, joint pain | 50°F or below |
| Sauna | Full-body heat exposure | 150–185°F |
| Cold plunge tub | Full-body cold immersion | 50–59°F |
| Towel barrier | Skin protection | Always use with packs |
Safety is non-negotiable. Limit each application to 10 to 20 minutes, always use a barrier between the pack and your skin, and avoid direct contact to prevent burns or frostbite. Do not apply heat to areas with acute swelling, open wounds, or poor circulation.
Contraindications to keep in mind:
- Open or infected wounds
- Peripheral vascular disease or poor circulation
- Neuropathy (reduced skin sensation)
- Pregnancy — consult your provider before using contrast therapy
- Active inflammatory conditions where heat may worsen symptoms
Step-by-step protocols: Balancing heat and cold safely and effectively
A well-structured contrast therapy session follows a clear rhythm. Standard at-home protocols call for 3 to 4 minutes of heat at 100–104°F, followed by 1 minute of cold at around 50°F, repeated for 3 to 5 cycles — always ending on cold. Alternatively, run 10 minutes of each for 2 full cycles, totaling 40 minutes.
Short cycle protocol
3–4 min heat at 100–104°F → 1 min cold at ~50°F. Repeat 3–5 times. Best for targeted muscle and joint recovery.
Long cycle protocol
10 min heat → 10 min cold. 2 full cycles, 40 minutes total. Best for full-body contrast therapy with sauna and cold plunge.
Beginner protocol
Start with 2 cycles only in week one. Add a third cycle only when you feel confident in your tolerance. Dose-dependent — more is not always better.
Sensitive / older adults
2–3 min heat → 45 sec cold. Milder temperatures throughout. Review with a healthcare provider if managing cardiovascular conditions or diabetes.
Step-by-step session protocol:
- 1 Prepare your tools. Set your heating pad or sauna to the target temperature. Fill your cold plunge or prepare your cold pack. Lay out your towels and timer.
- 2 Warm up the area first. Apply heat for 3 to 4 minutes. Focus on the muscle group or joint you're targeting. Breathe deeply and let the tissue relax.
- 3 Transition to cold. Remove the heat source and apply cold immediately. Hold for 1 minute. This contrast is what drives the vascular pumping effect.
- 4 Repeat the cycle. Complete 3 to 5 full cycles of heat followed by cold. Keep transitions quick — ideally under 30 seconds between applications.
- 5 End on cold. Always finish your session with cold. This reduces residual inflammation and helps consolidate the recovery response.
- 6 Rest and rehydrate. Give your body 10 to 15 minutes of rest after the session. Drink water to support circulation and tissue repair.
For sauna timing protocols that integrate with your training schedule, it's worth reviewing how pre- and post-workout sauna use affects performance differently. You can also explore recovery alternatives like red light therapy and compression for layered recovery strategies.
Common mistakes and how to troubleshoot your routine
Even with a good plan, small missteps can sabotage your results. Here's how to stay on track.
One of the most common errors is applying heat too soon after an acute injury. For acute injuries in the first 48 to 72 hours, cold therapy alone is the right call. Heat during this window can increase blood flow to an already inflamed area and worsen swelling. Once inflammation has subsided, you can introduce contrast therapy.
What not to do:
- Don't apply heat directly to a fresh sprain, strain, or bruise
- Don't skip the towel barrier, even when using moderate temperatures
- Don't extend sessions beyond 20 minutes per application without professional guidance
- Don't ignore skin changes like redness, blistering, or unusual paleness
- Don't assume that more intense temperatures produce faster results
| Problem | Likely Cause | Fix |
|---|---|---|
| Skin redness that doesn't fade | Overexposure to heat | Reduce session time, add towel barrier |
| Numbness during cold phase | Temperature too low or too long | Raise cold temp, shorten cold interval |
| Increased swelling after session | Heat applied too soon post-injury | Switch to cold-only until inflammation clears |
| Dizziness or lightheadedness | Rapid temperature shifts | Slow transitions, stay hydrated, reduce cycles |
| Muscle cramping | Dehydration or overexposure | Hydrate before sessions, shorten duration |
For older adults or those with chronic health conditions, shorter sessions and milder temperatures are advisable. A 2 to 3 minute heat phase and a 45-second cold phase is a safer starting point. Review your protocol with a healthcare provider if you have cardiovascular conditions, diabetes, or Raynaud's syndrome.
For those using saunas for recovery as part of a broader wellness routine, understanding the difference between stress reduction and physical recovery use cases helps you calibrate intensity appropriately.
The real secret: Consistency over extremes in contrast therapy
There's a temptation in wellness culture to chase intensity. Colder plunges, longer saunas, more cycles. The assumption is that if some is good, more must be better. But the evidence — and real-world experience — tells a different story.
The people who see the most durable improvements from contrast therapy are not the ones pushing the hardest. They're the ones showing up consistently, paying attention to how their body responds, and adjusting their protocol accordingly. A gentle 20-minute session three times a week will outperform an aggressive 45-minute session done once and abandoned due to discomfort.
Consistency wins
Three gentle sessions per week compounds faster than one extreme session. The habit you can sustain is always more valuable than the extreme you can only tolerate once.
Listen actively
Listening to your body is not passive. It is a skill. Recovery is cumulative — small adjustments based on feedback produce better long-term outcomes than rigid protocols.
Build gradually
Start with 2 cycles. Add one cycle per week as tolerance builds. Dose-dependent results mean there is an optimal range — not a maximum to chase.
Track your response
Log sleep quality, soreness levels, and energy after each session. Patterns over four to six weeks will tell you more than any single session ever can.
Explore wellness tools for enhanced heat and cold therapy
Building a reliable contrast therapy practice at home starts with having the right equipment. Marterra Elements offers a curated selection of infrared sauna options and cold plunge tubs designed specifically for at-home recovery — each selected for quality, safety, and ease of use, so your focus stays on your wellness, not your setup.
Build Your Contrast Therapy Setup
Whether you're building your first recovery station or upgrading an existing one, Marterra Elements has the tools to match your goals and space.
Frequently asked questions
How long should I do contrast therapy at home?
A typical session runs 20 to 40 minutes, using 3 to 5 cycles of 3 to 4 minutes of heat at 100–104°F followed by 1 minute of cold at around 50°F, always ending on cold for best results.
Is it safe to use heat and cold therapy every day?
Daily use is generally safe as long as sessions stay brief and you monitor for skin changes or discomfort. Always check for contraindications such as open wounds, circulatory issues, or acute inflammation before each session.
Should I use heat or cold for a new injury?
For the first 48 to 72 hours after an acute injury, use cold therapy only to control swelling. Introduce heat or contrast therapy only after inflammation has clearly subsided.
What are the risks of balancing heat and cold therapy?
The primary risks include skin burns from heat, frostbite from prolonged cold, and worsening certain conditions if safety guidelines are ignored. Always use barriers, limit application time to 10–20 minutes, and avoid use over open wounds or areas with poor circulation.
Can I do contrast therapy after every workout?
Yes, post-workout contrast therapy is one of the best use cases. It accelerates clearance of metabolic waste, reduces DOMS, and supports parasympathetic recovery. Keep sessions moderate and stay well hydrated.
What temperature should a cold plunge be for contrast therapy?
Most evidence-based protocols target 50–59°F for full-body cold immersion. Beginners can start closer to 59°F and reduce temperature gradually as cold tolerance builds. Never sacrifice session completion for lower temperatures.
Recommended
- Sauna, Cold Plunge, Repeat: How Contrast Therapy Affects Circulation — Marterra Elements
- Cold Plunge at Home: Benefits, Risks & Best Tubs (2026 Guide) — Marterra Elements
- Revive Plunge Sauna & Inflatable Barrel Cold Plunge Bundle — Marterra Elements
- Revive 2-Person Sauna & Pod Plunge Bundle | Ultra-Compact — Marterra Elements
This article is for informational purposes only and does not constitute medical advice. Always consult a qualified healthcare provider before beginning any new health practice, particularly if you have a pre-existing condition, are pregnant, or are currently taking medication.